You have no items in your shopping cart.
ElisEleven Project
Menu
"Wouldn't it be good if we could rummage through the parts bin at Hethel..."
That's pretty much the topic of conversation Dave found himself having with a good friend one night. As we all know, you don't start a project conversation without some sort of battle plan and certainly not when you're a Lotus parts specialist yourself.
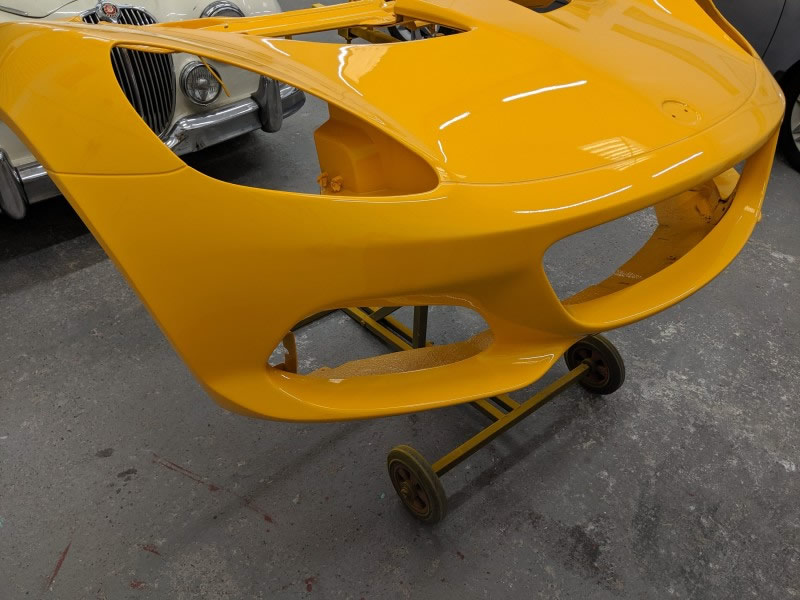
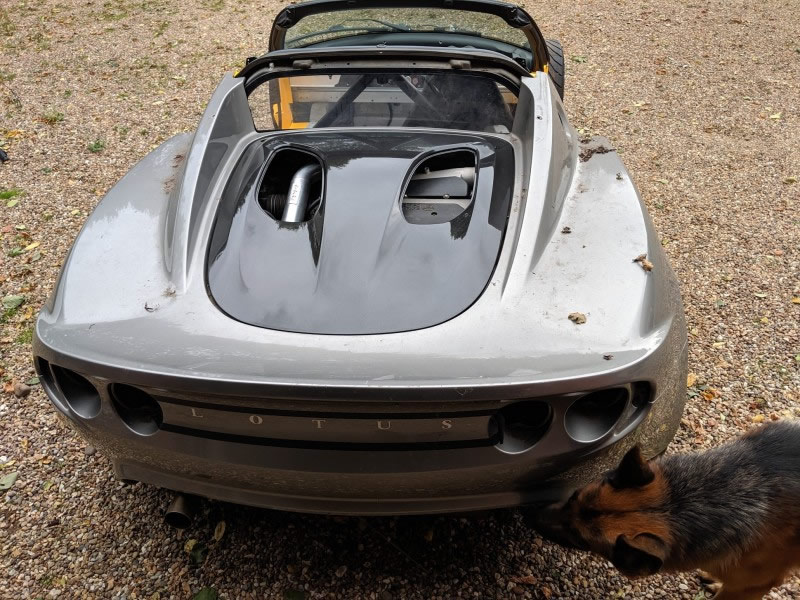
The goal is to have a standard(ish) looking lightweight track car with the 2ZZ engine, but with more than just a nod to the Elise 260 Cup. Bits already assembling in the workshop included a 260 Cup S3 front end, carbon roof and engine cover.
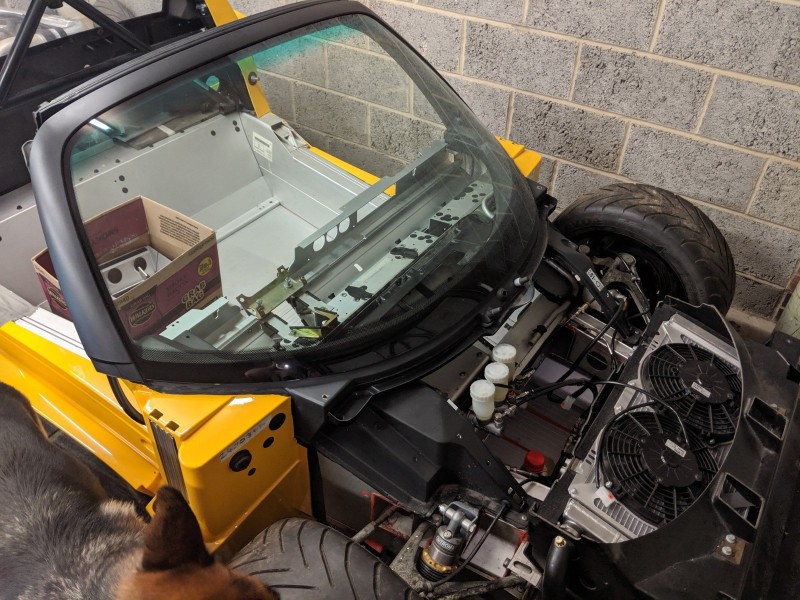
The Donor Car
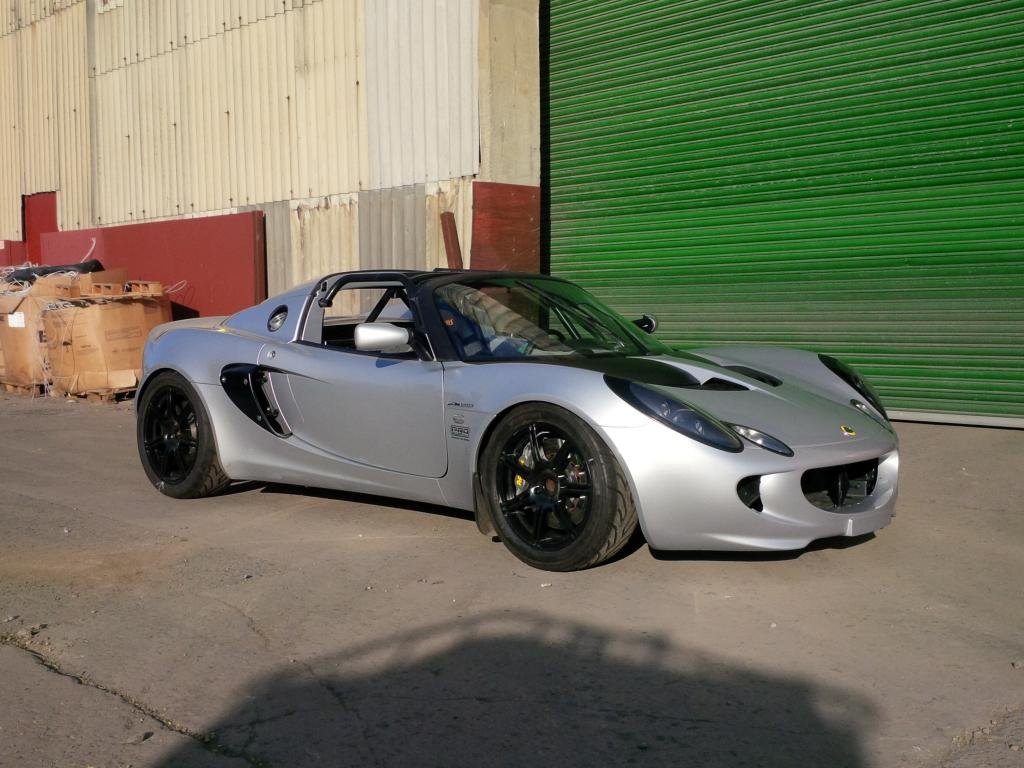
Dave bought the car from Gav Kirby - it was a left hand drive 111R but with a 270 LMS engine conversion and GT4 brakes & suspension. After many months / years not doing a lot other than removing parts to clean or throw away or even sell on, he started to assemble the car again. The car had a full 270 LMS engine conversion (when collected from Gav) and a KAAZ close ratio gear kit was fitted to the new gearbox with LSD that was already installed.
Spotted anything yet? Our worldwide audience might not give it a second look but to use UK folks, the steering wheel is on the 'wrong' side. So then, there's some LHD > RHD converting to do including the Pilbeam pedal box.
Before all the cool stuff starts getting added, there's also a lightweight JSRacing wiring loom to fit which is actually a new standard Exige loom with ALL non essential cr@p removed.
Converting to RHD
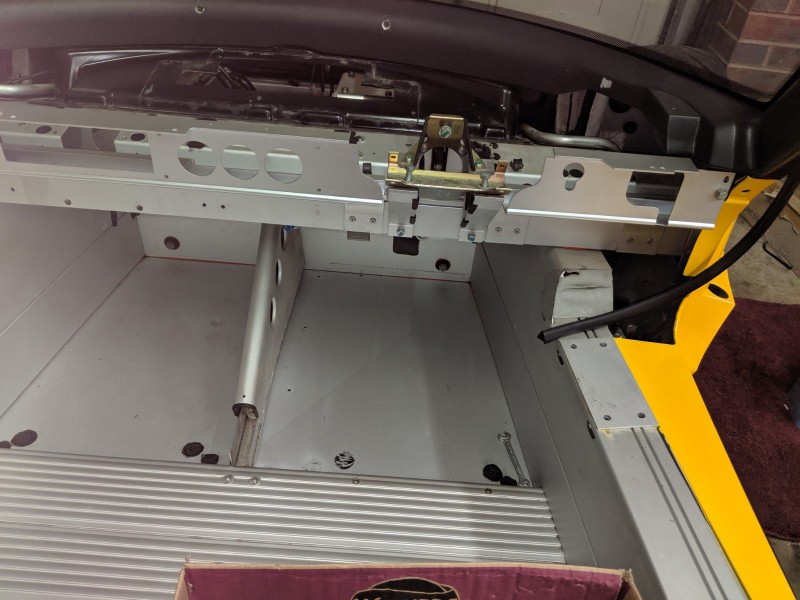
Already you can see there's quite some time between the images above and below but you join us here after the paint's been done on the car but there's still some way to go.
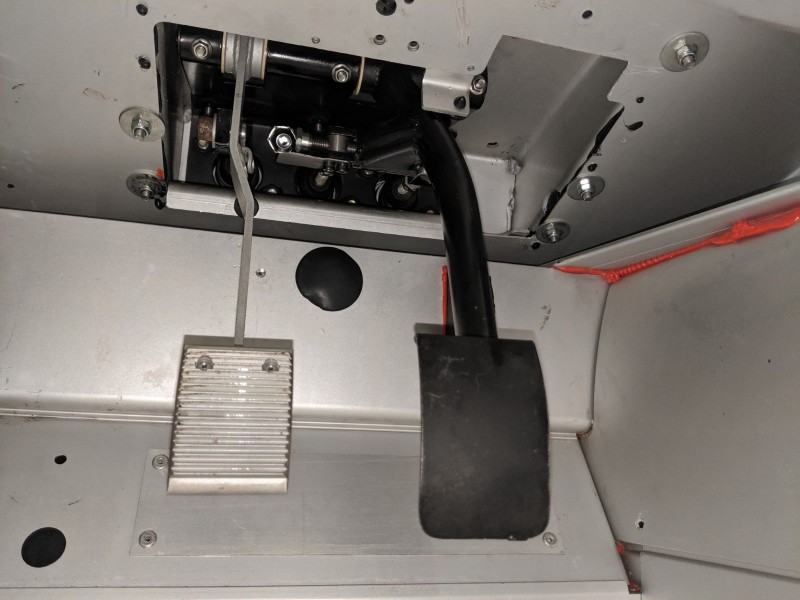
Swapping the Pilbeam pedal box from LH to RH was fun...
Some free advice: if you need an electronic throttle pedal fitting, pay someone else to do it (Dave's own words). This picture shows the two easy bolts, the third at the front of the pedal CANNOT be reached with a socket or spanner - and all while in the Lotus position.
260 Cup - A Quick Reminder
Should really have started with this as this car tips its hat to the 260 Cup and then goes beyond. Not a bad looking vehicle, really is it?

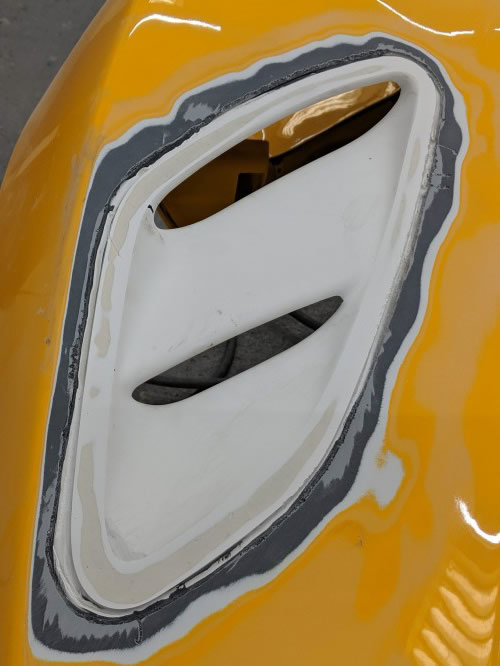
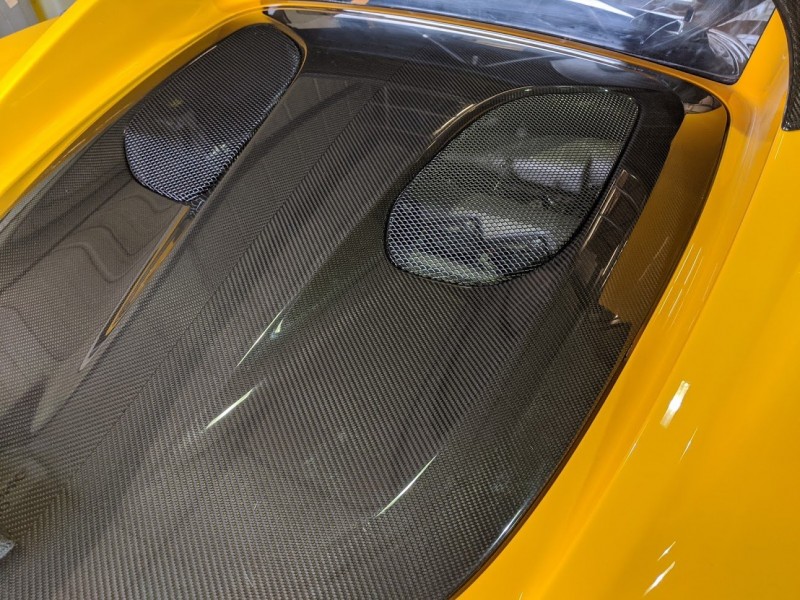
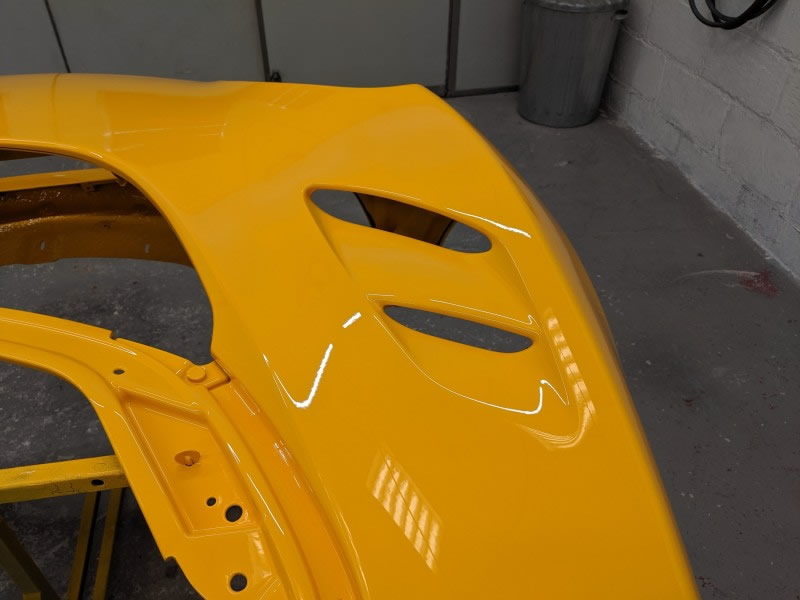
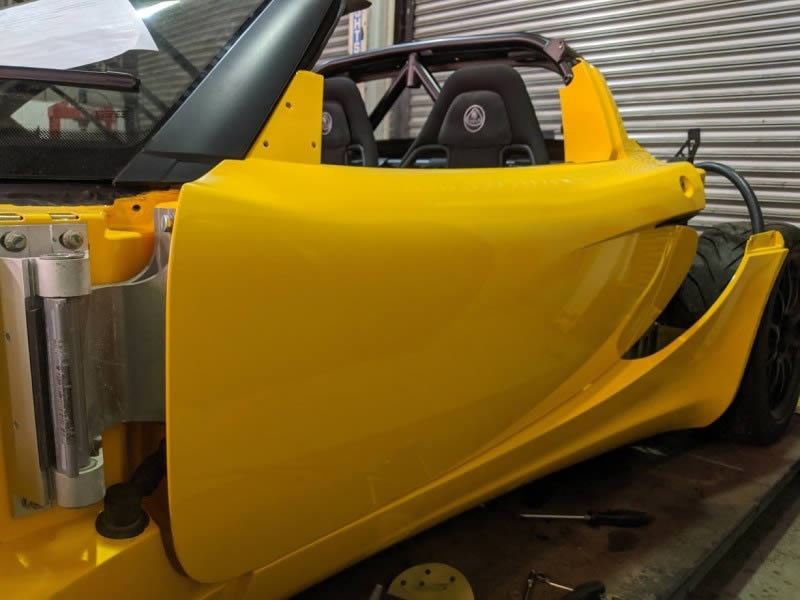
One of the most distinctive bits of the 260 Cup are the front clam top air vents.

Picked this up a while before this project started - it would be rude not to use it.
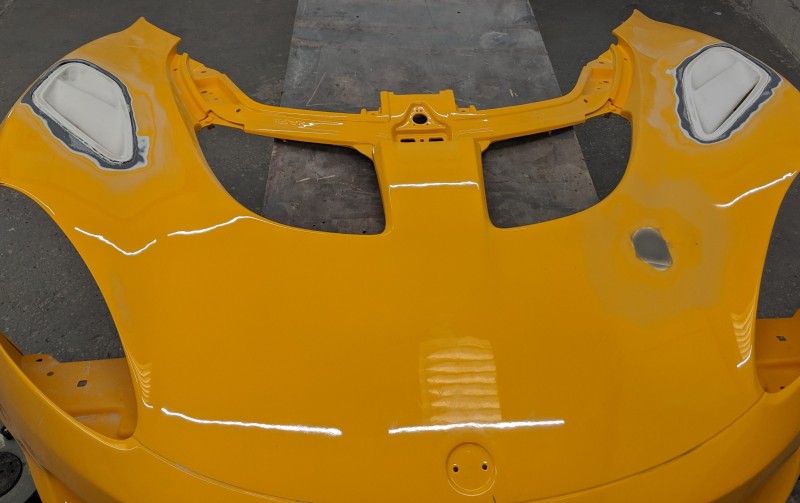
The front clam is now ready for collection looks absolutely stunning with the vents fitted and painted.
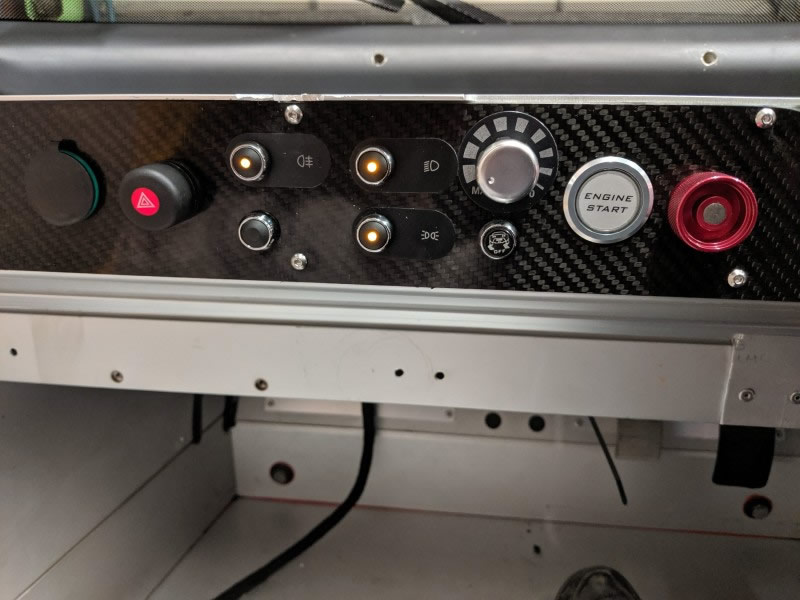
Wiring finished and switch panel now complete and installed. It's based on a theme started by Gav - Dave took it a little further.
Next jobs are the gear lever and cables to install, Also the charge cooler rads, pipe and pumps. Then its front clam. Still needs the rear clam painting but at the moment, Dave's undecided what to do with the rear lights, rear panel cutout? For now, Dave concentrates on everything forward of the rear bulkhead.
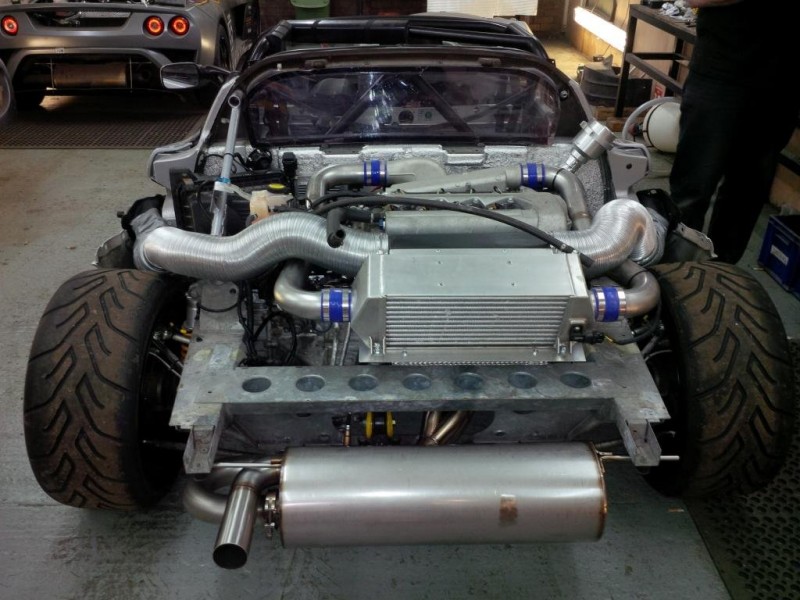
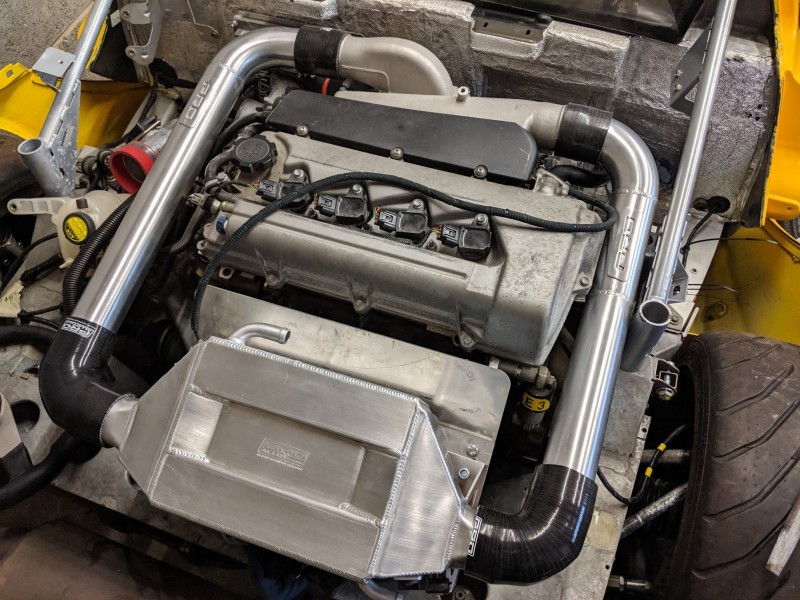
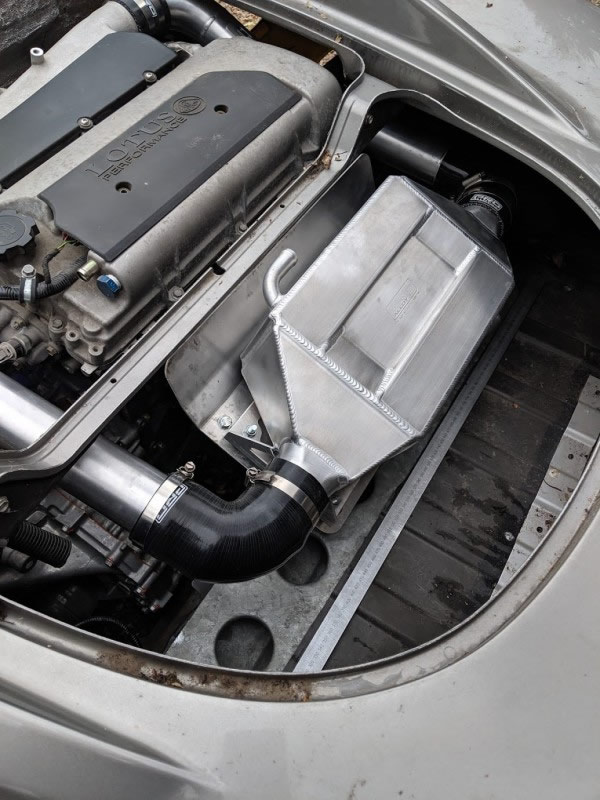
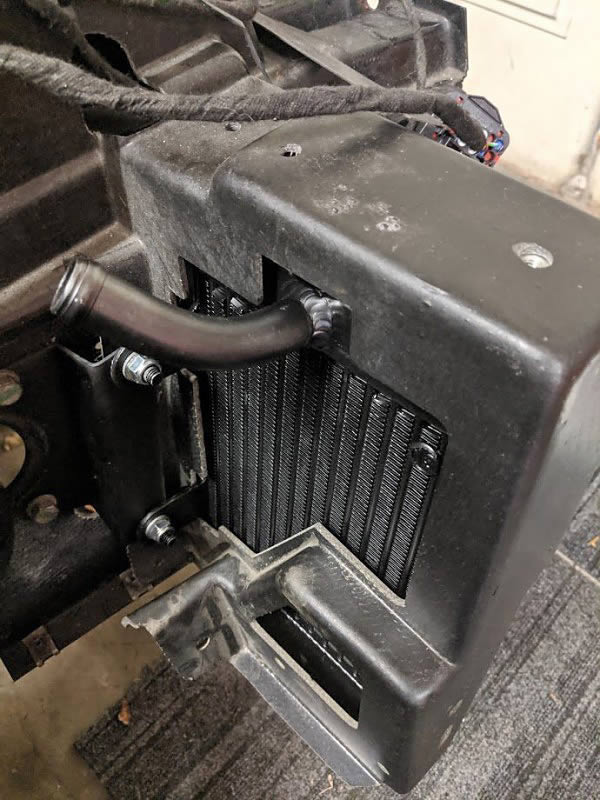
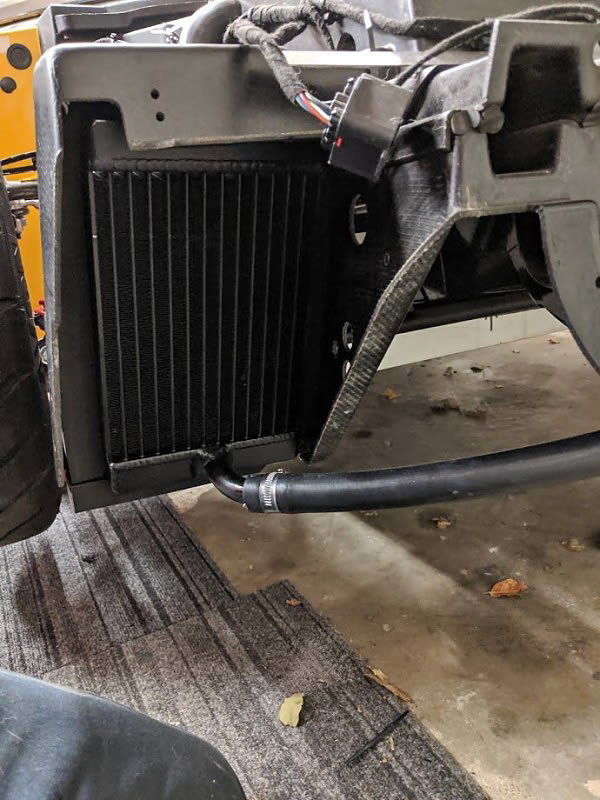
Proalloy Chargecooler
A Pro Alloy charge cooler specifically made to suit this car.
Time to offer up the rear clam and get the angle grinder out - goodbye bootspace, hello chargecooler.

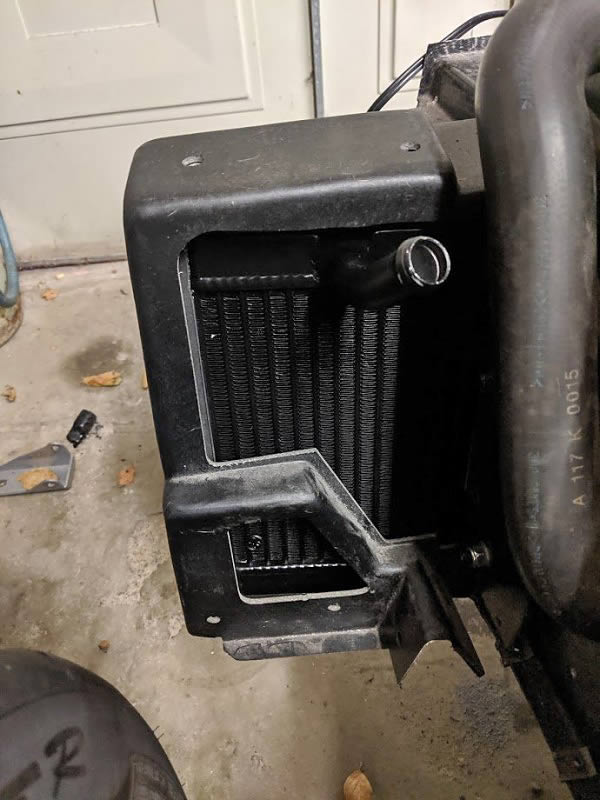
Another part of the project is the charge cooler system. As Dave's using the 17.5 MY front clam there are lots of nice big openings either side of the main rad air inlet, so he's have replaced the oil coolers with a large laminova cooler.
"I then had pro-alloy modify two new oil cooler rads to accept water pipes. These sit nicely behind the two big inlets so 'should' get plenty of nice cold air to keep inlet temps in check."
Time will tell.

Let's try the engine cover for size while we're at it ... hmmm ... smells good too.
Once done, the car is put the car back into the garage. Dave needed somewhere to store the Exige rear spoiler he had for sale ... seemed the most obvious place to stand it!
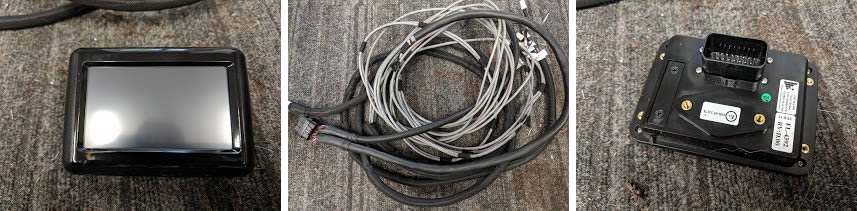
Another loom turned up ... along with a TFT screen. Wonder where this is going ...
Suspension
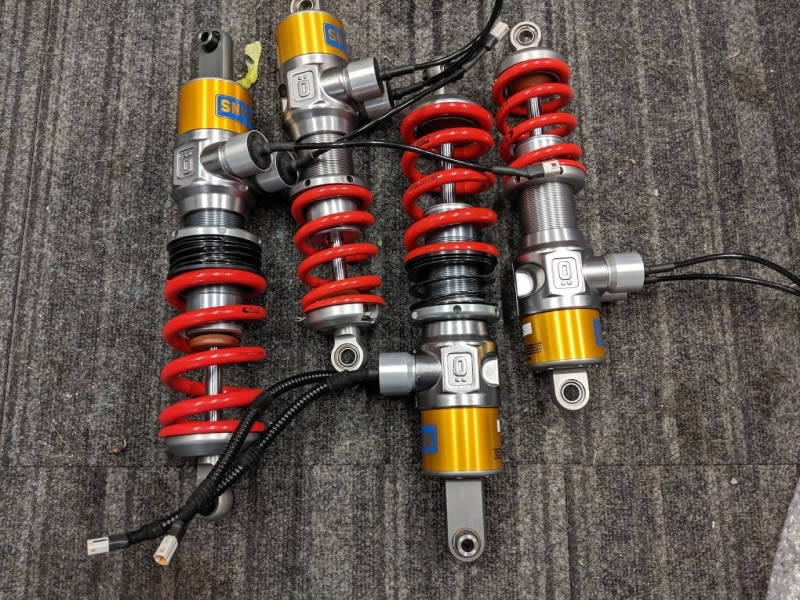
Started the test fit, fronts are perfect, rears need one small adjustment, but thats easy to do.
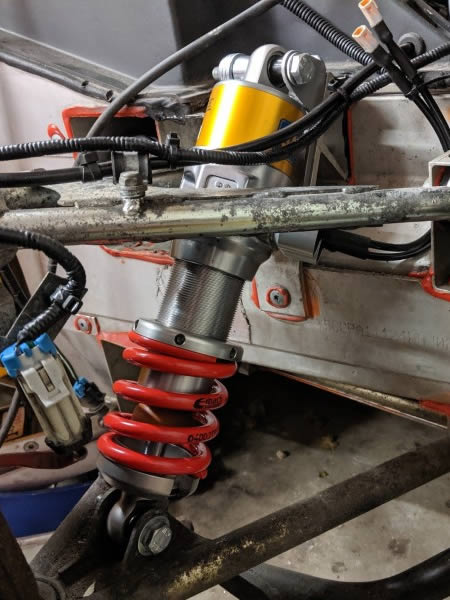
This image is with the suspension at ride height of circa 105mm
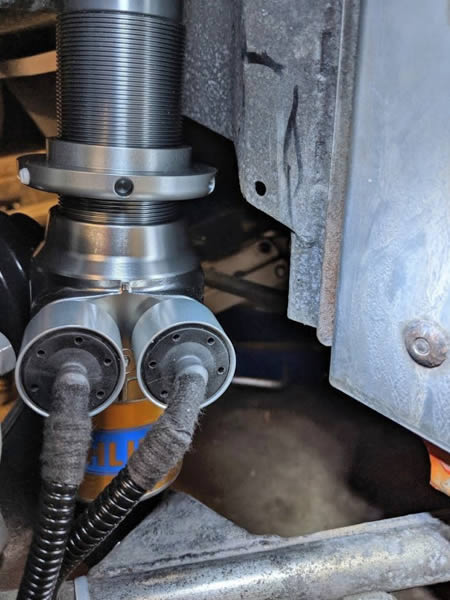
Rear is a little tight near the subframe but does clear everything ... just!
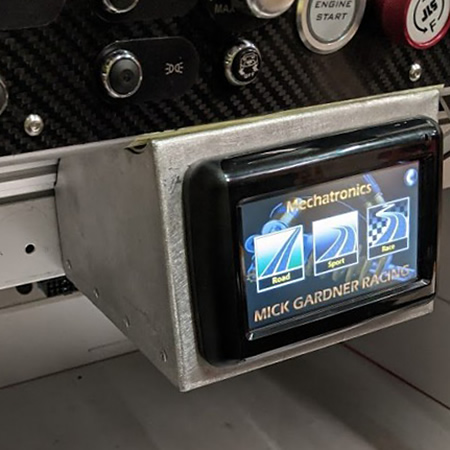
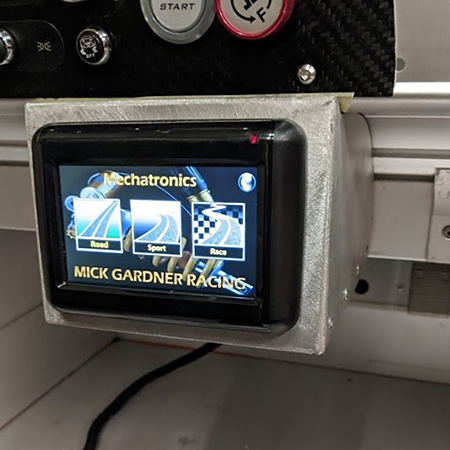
Obviously Dave wants to check the electronics work before anything else ...
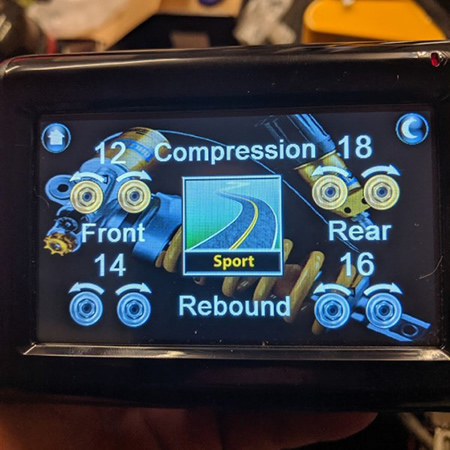
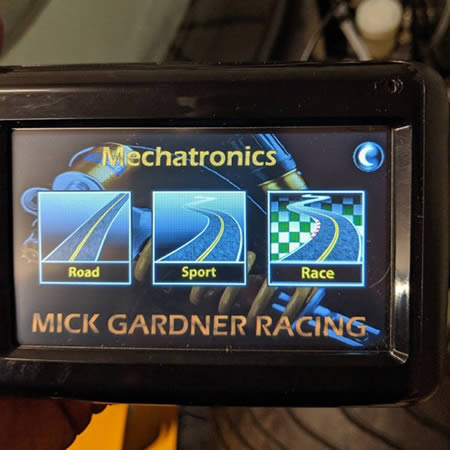
Dave needed somewhere safe and visible for the damper control screen so made this. It needs painting etc. but he wanted to make sure it fits and is WELL clear of his legs before doing so.
A quick summary of where it's up to at this moment
The car needs the following and it will drive ...- Connect gear change and hand brake cables
- Tidy / cable tie the damper control wiring
- Fill and bleed cooling system
- Pipe up the charge cooler, install pump, fill and bleed
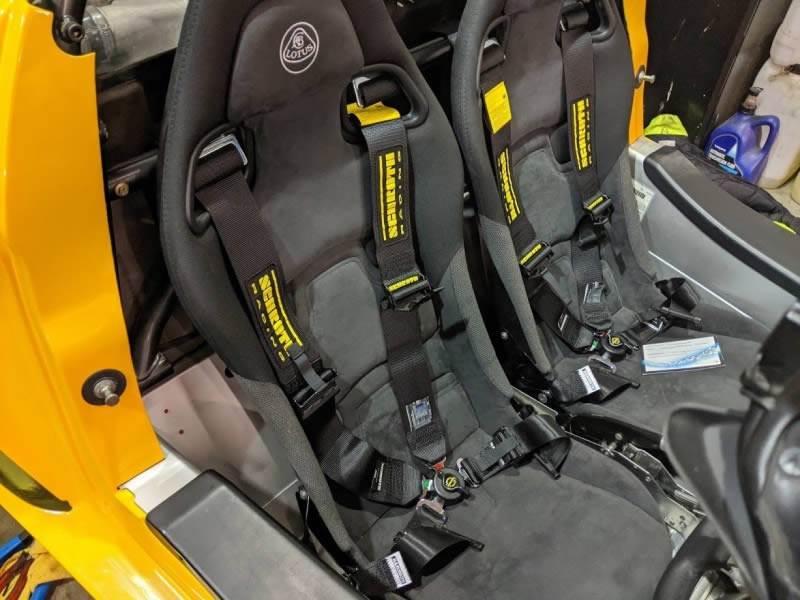
- Bolt in a driver's seat
"I now have 99.9% of the parts needed to finish it. I am awaiting a subframe mounting for the spoiler uprights to arrive from Lotus."
Still required:- Buy a rear spoiler blade
- Rear clam to paint (needs some holes making for spolier pylons but need the mounting to get them in the correct place)
- Front splitter to paint
- Front access panel to paint. "I really want a carbon access panel but at over £2000 from Lotus a painted one will suffice for now."


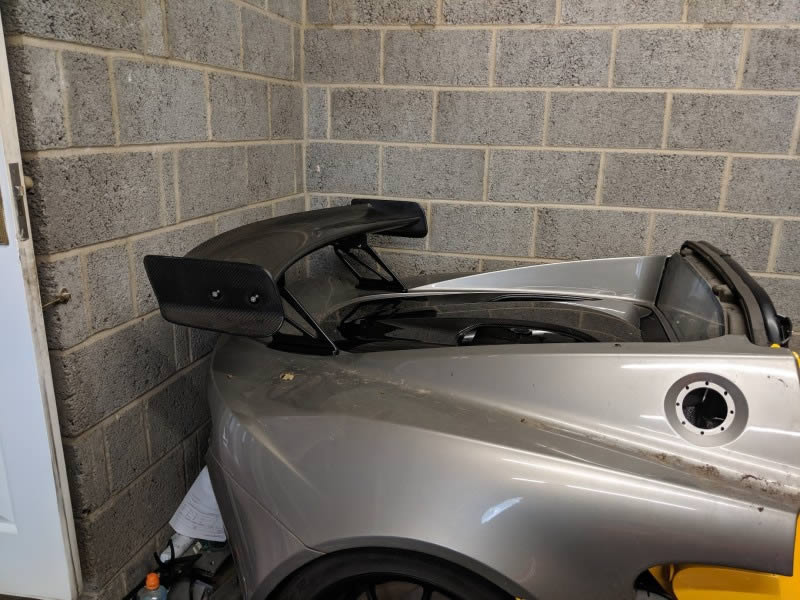
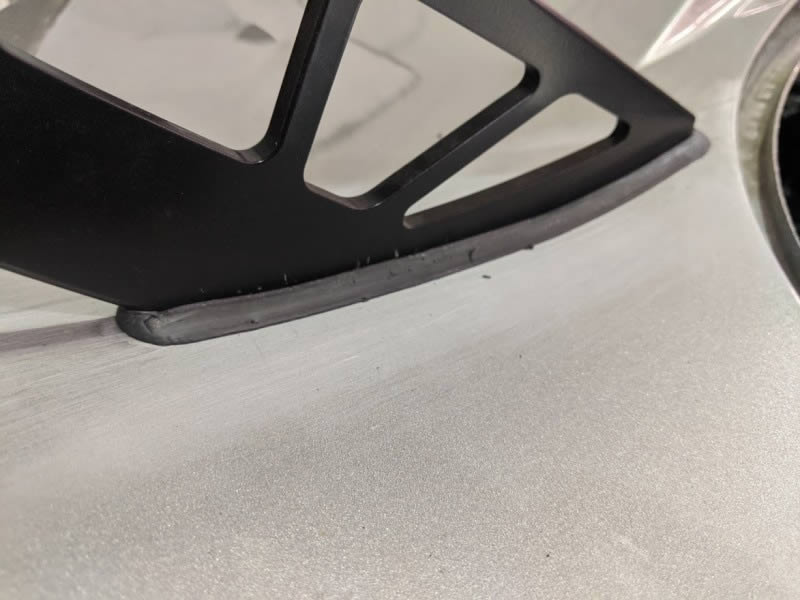
Rear Wing
This is a job that should be completed today, then it's off to the paint shop. Remember the old rule; measure 28 times, cut once.
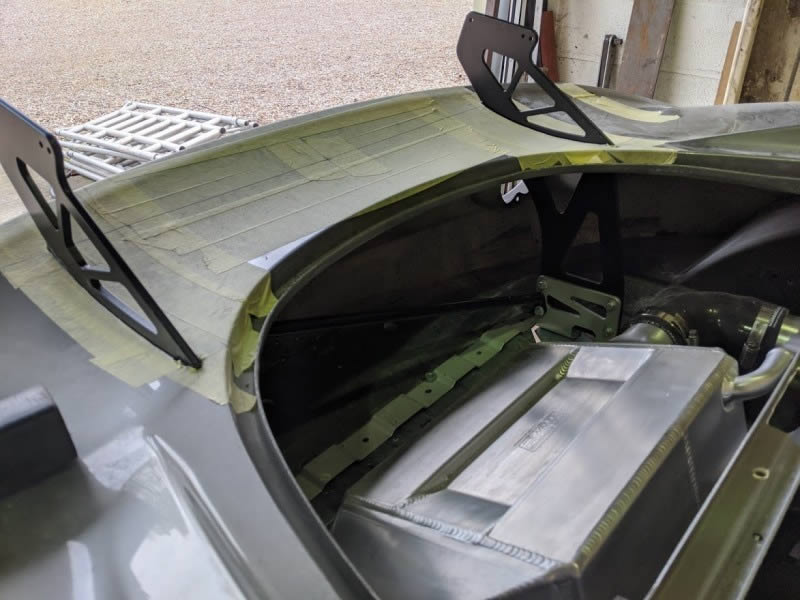
Thankfully, Dave's 'pretty pleased' with the result. To the rest of us, that means ecstatic. "Really wanted the pylons taller but pretty sure I can add a bit of height with the spoiler mounting plates."
And here's where it's up to now... the keen-eyed among you will notice the dash isn't exactly where it's meant to be but that's explained below.

Needs the following to get it finished:-
- Front arch liners to fit
- Front under tray to fit
- Both door mirrors (currently at the paint shop) and then fit the door cards (leaving that until the mirrors are fitted)
- Paint rear clam
- Install charge cooler tank, fill with coolant etc.
- Fit engine cover (very very light carbon version)
- Fit undertrays and diffuser
- Decide what rear spoiler to fit (and get the thing ordered!)
- Geo and corner weighting
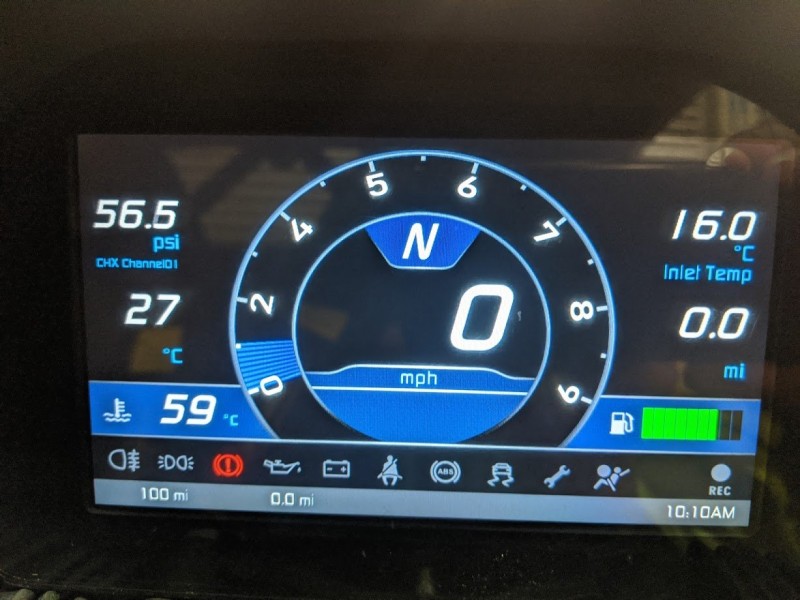
- Still needs the instrument cluster fitting, but I am awaiting a softare update for the AIM MX2E digital dash
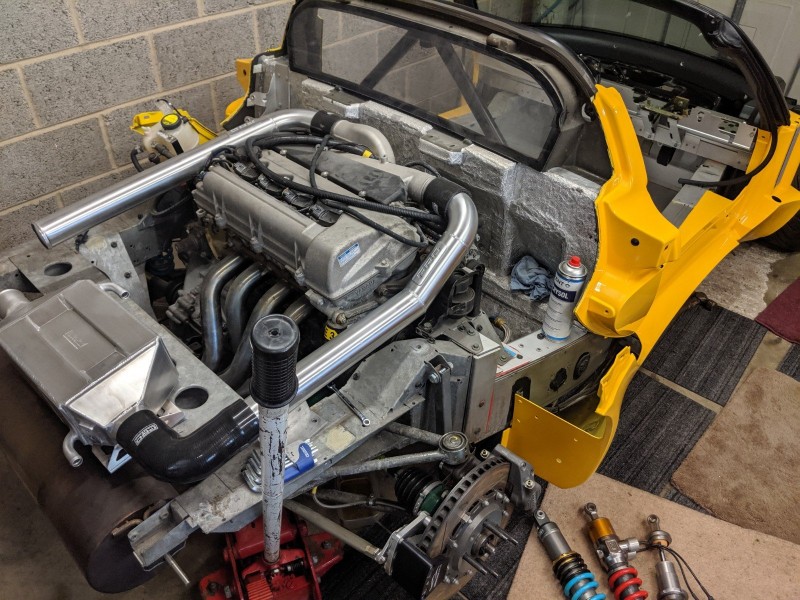
Dash, Bodyshop and Carbon Bits
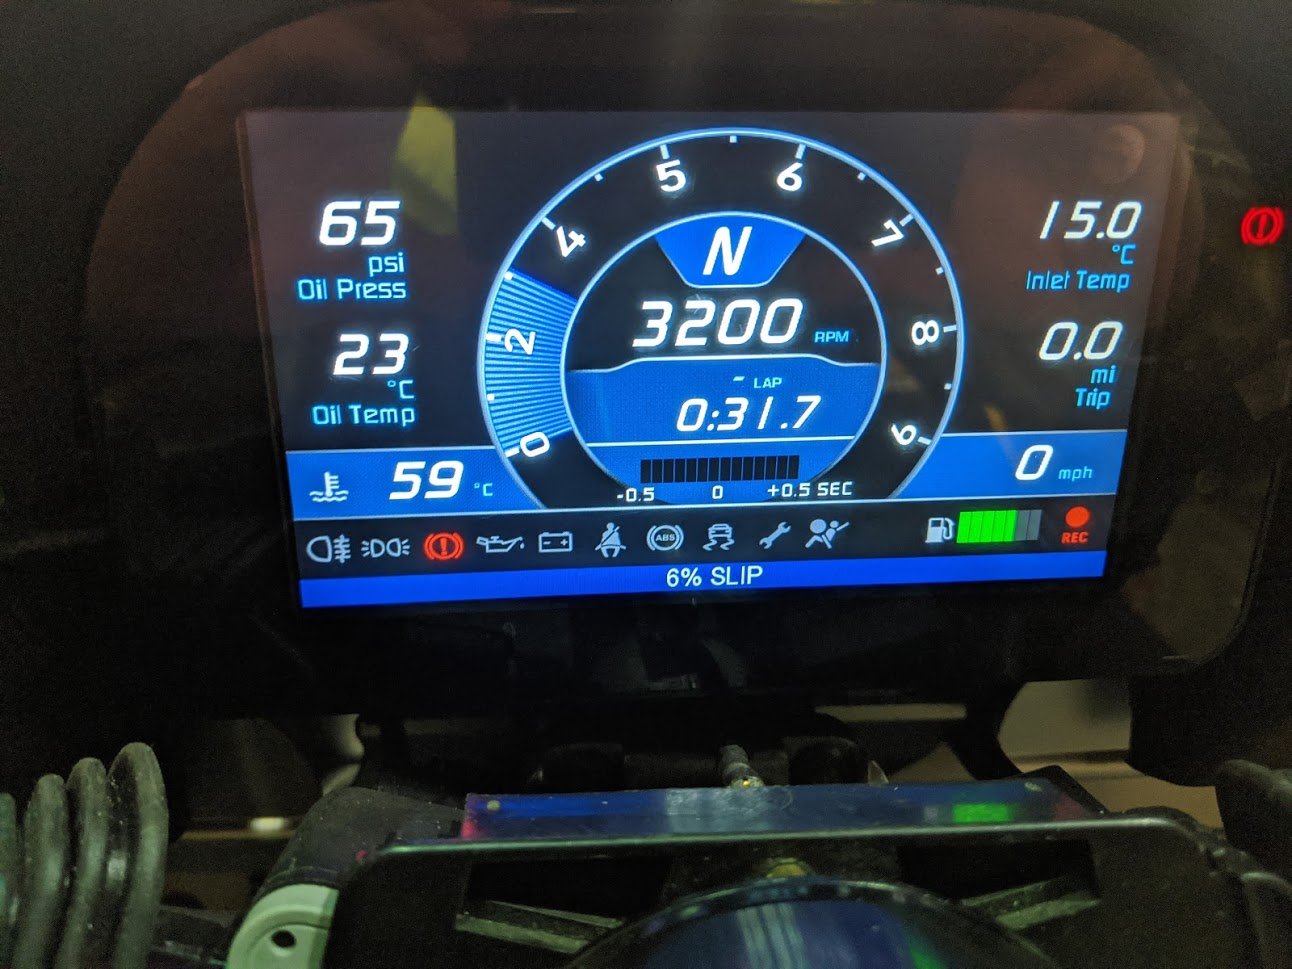
So with house arrest in play, I decided it was time to add a few sensors to the engine and connect them to the AIM dash. Here is the result. Top picture is the 'road' dash and the lower one is the 'track' dash.
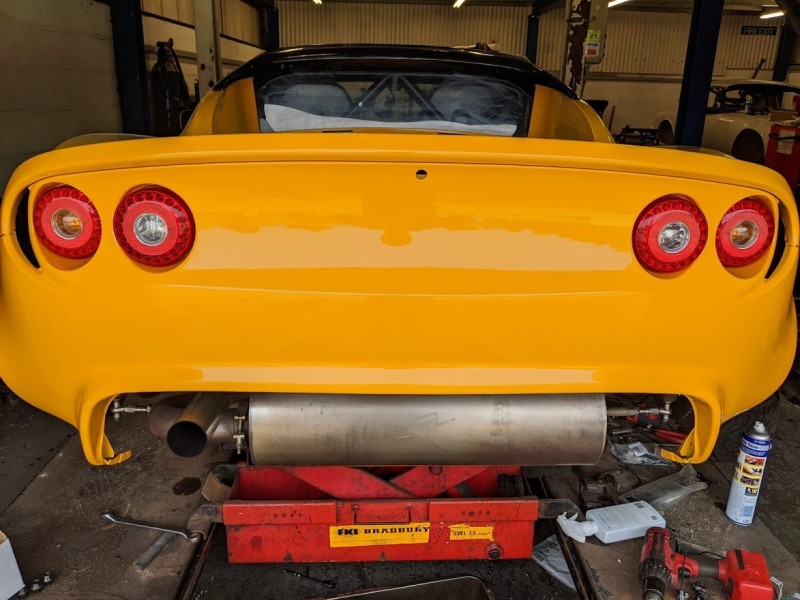
The bodyshop have been busy for me this week so I managed a few hours on the project, very happy how its coming along!
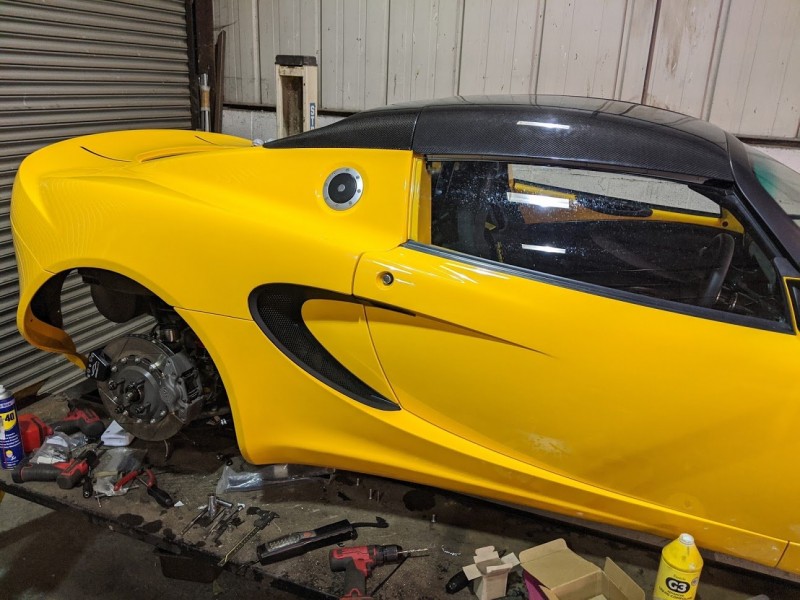
I love the carbon engine cover...
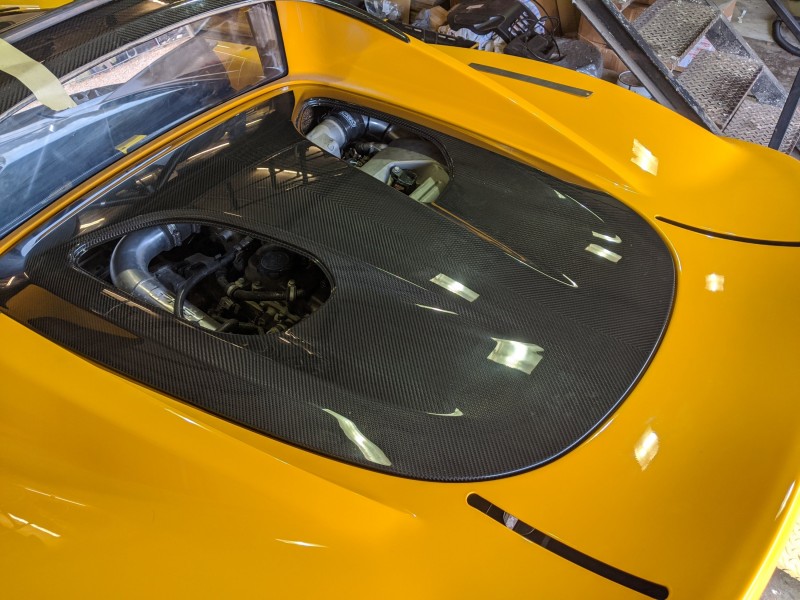
Cheeky shot from above.
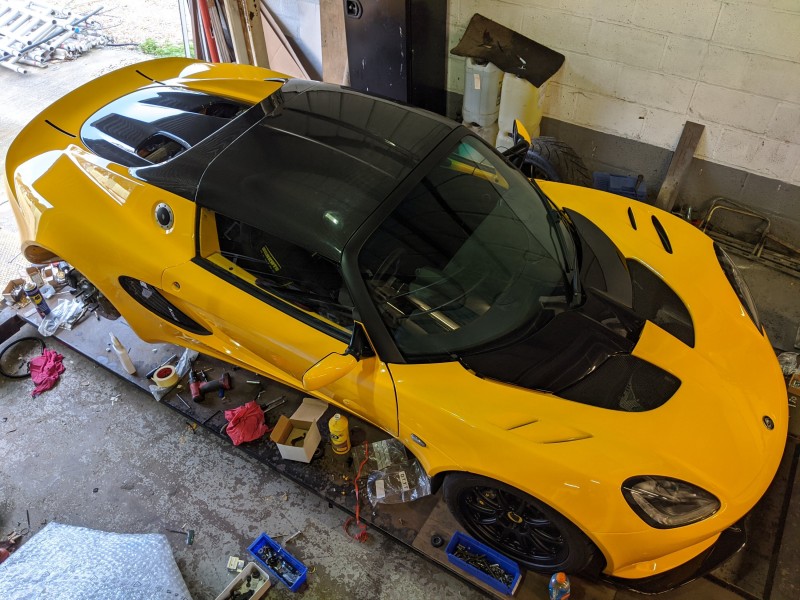
Bit better picture of the nearly completed project. To finish it still needed the following, but I was now stuck for parts.
- Fit rear arch liners (ordered)
- Fit undertray
- Modify rear diffuser, power coat and fit
- Fit rear spoiler and pylons (1500mm spoiler ordered)
- Install rear light loom (ordered)
- Refit charge cooler (sent back to Pro-Alloy for a small modification (should be back very soon)
- Fit front number plate plinth and plates
- Install a black panel on the rear transom, them install the L O T U S letters
- Full Geo and bolt check
- MOT
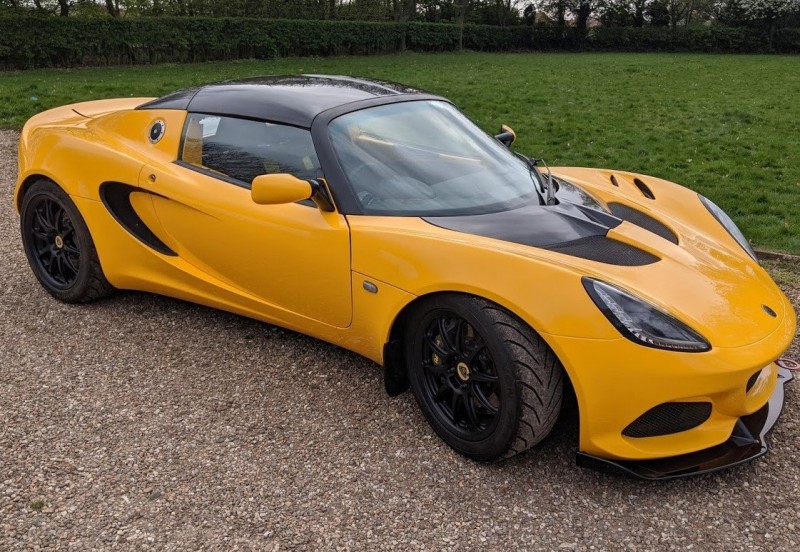
At this point. if i had all the parts, one possibly two days would now see the car track / road ready.
Carbon engine cover done. Took ages to set up and make the release work but I think it was worth the effort.